SNTManager
An application which enables configuration of Sentinel external controller/s in order to control, monitor and upgrade controller’s firmware.
All communication is done via UDP using port 65535.
Documentation:
Sentinel Step by Step Installation Guide
Sentinel Database Configuration & Maintenance
![]() Sentinel Installation Guide (PDF)
Sentinel Installation Guide (PDF)
![]() Sentinel Implementation Guide (PDF)
Sentinel Implementation Guide (PDF)
Server 2008/2012 – IIS Configuration
Before you can install the system on a Windows Server 2008 / 2012 server you should first install Microsoft IIS (Internet Information Services) software on the server.
If IIS is already installed on the server, you should verify that IIS is configured as described below.
IIS installation:
- Select Web Server (IIS)
- Click Role Services and under Common HTTP Features make sure Static Content is selected.If not – mark it.
- Select Application Development and make sure all its sub-options are selected.
- Under Security, make sure Windows Authentication is selected.
- Select IIS 6 Management Compatibility and make sure all its sub-options are selected.
- If one of the above was not marked, mark it, click Next and then Install. Click Close when the installation finishes.
Sentinel Version 4 System Requirements:
| Component: | Requirement: |
| Operating system for print server |
|
| Operating system for clients | Windows XP or higher |
| Web browser | One of the following:
|
| Database |
|
| Available Disk Space | Minimum: 10GB or greater |
| IIS | Yes |
| .Net framework 2.0 | Yes |
| .Net framework 4.0 | Yes or higher |
| Ports to Open | TCP Ports: 515, 9100, 8081 UDP Ports: 161, 162, 7001, 7002, 7003, 65535 |
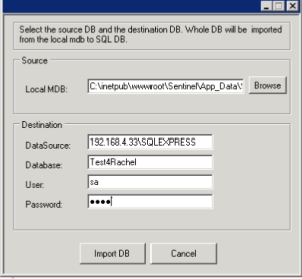
When the organization working with Sentinel using local (Access) DB wishes to move to SQL DB, or when Access DB was corrupted, there' an application which does exactly that operation.
Transfer (migrate) Access DB to SQL
- Create empty SQL DB with the above requirements.
- Download the application from the link:
https://www.epapersign.com/images/Downloads/SNTDBConfig.exe and store it in C:\Sentinel - Activate the application SNTDBConfig.exe from that folder.
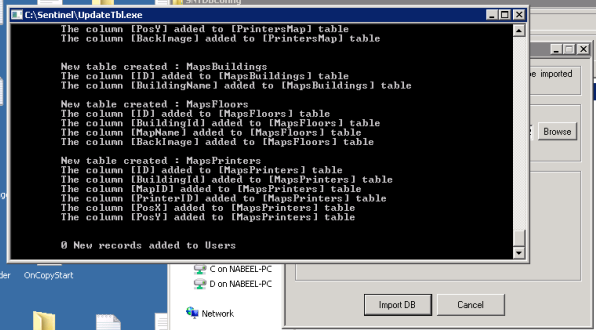
The user will be required to enter the local Access path and SQL DB parameters.
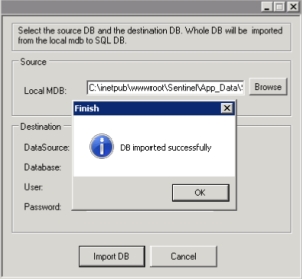
In the end, window with "...finished successfully..." is displayed.
After installing the application:
1. Installation for 30 days (without license):
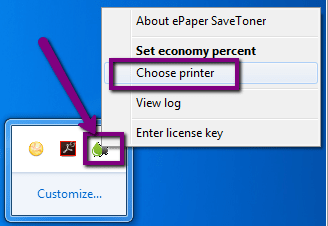
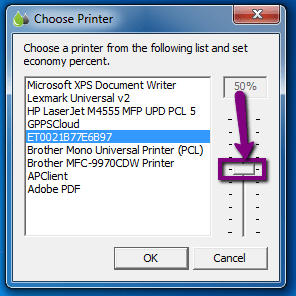
2. On 1st activation a printer should be selected:
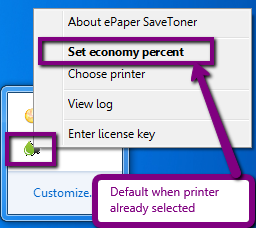
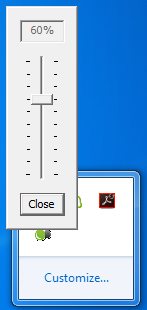
3. After printer was selected – The default is to display only the percentage scale for previously selected printer:
4. If user wishes to change printer or any other operation – Right click on the icon should be used:
