Sentinel Print Management Software Installation Guide
Follow those steps to install Sentinel print management software:
Step 1.
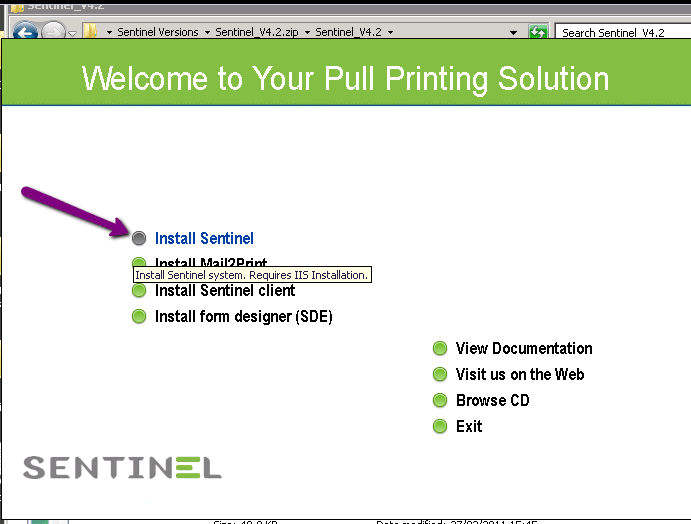
In the installation package of Sentinel print management software you just run SETUP.EXE.
You’ll get:
Step 2.
Sometimes you’ll get a window with “Install IIS” button, even if IIS is already is installed (and configured correctly).
Just press on the button. If IIS is already installed, the installation just skips the part of building IIS.
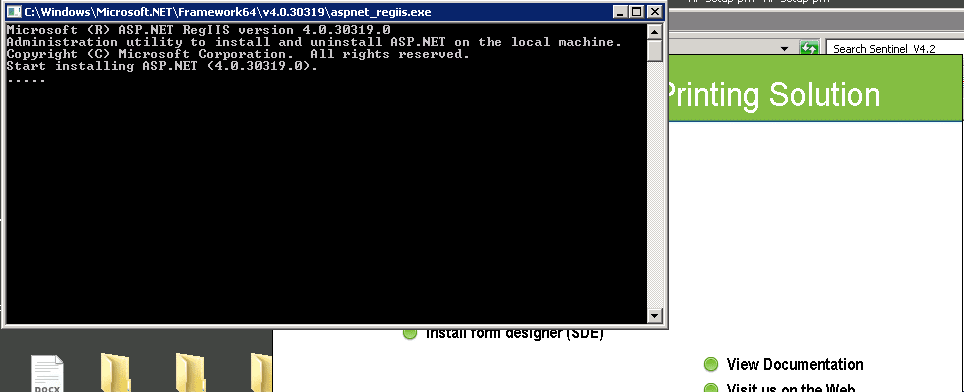
Next step is handling ASP.NET:
Step 3.
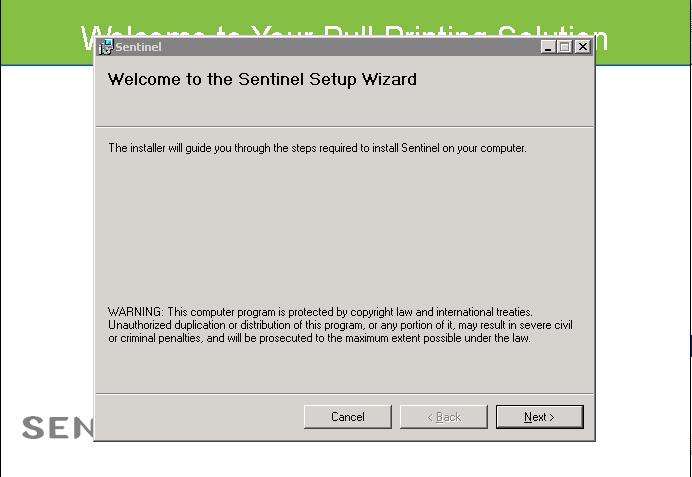
When done, you’ll get starting screens including “I Agree” check box for confirmation, and then the starting screen again:
Step 4.
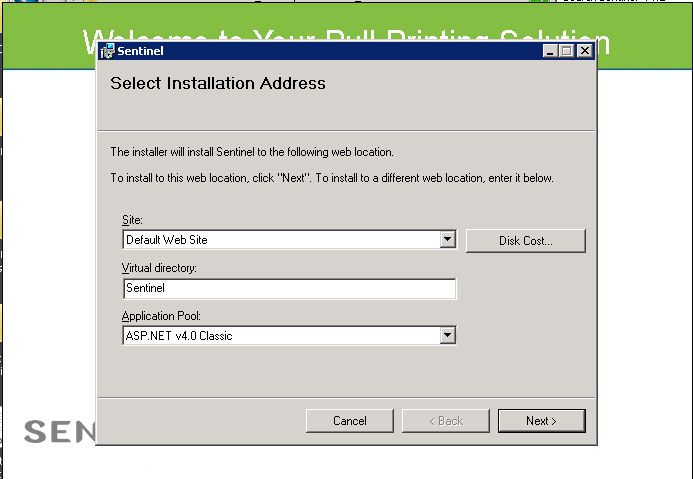
Check that the application pool is correct and continue:
Step 5.
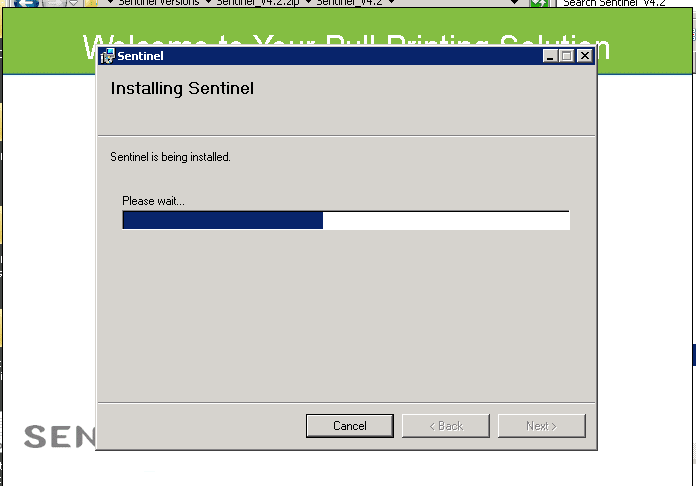
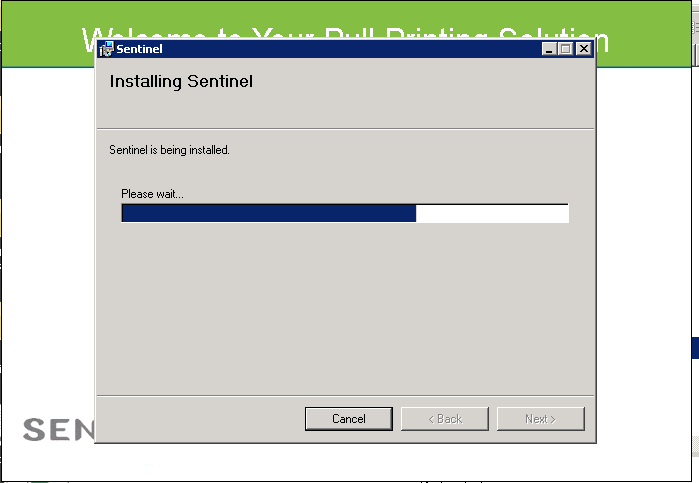
The installation process begins:
Step 6.
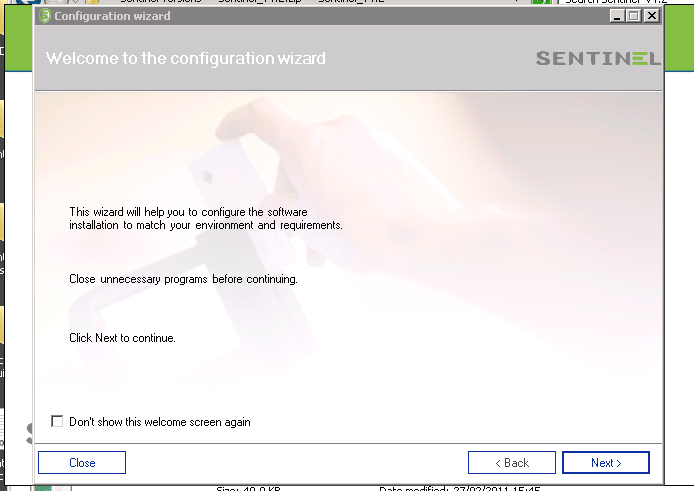
This part of the installation called "the Wizard" enables you to enter relevant configuration parameters:
Step 7.
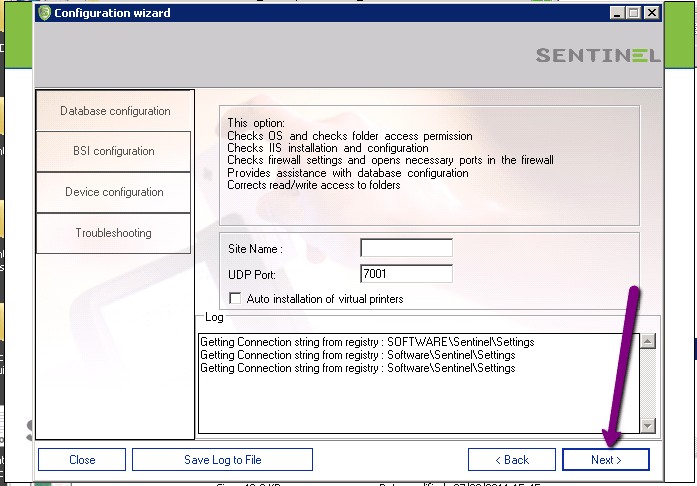
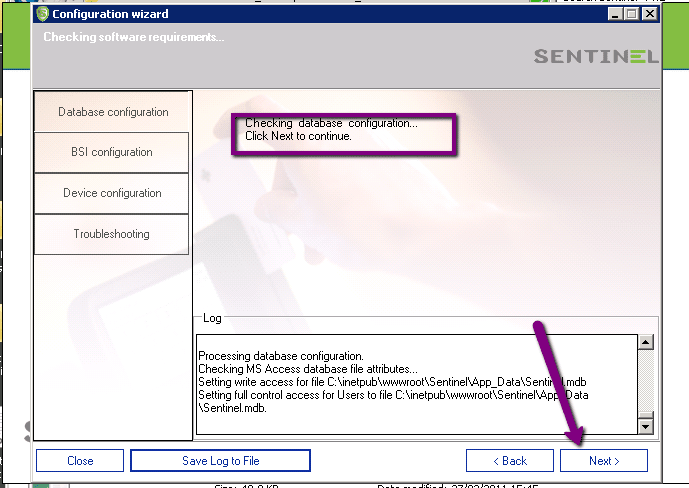
On the first screen just press “Next” and wait until the DB configuration is needed.
Step 8.
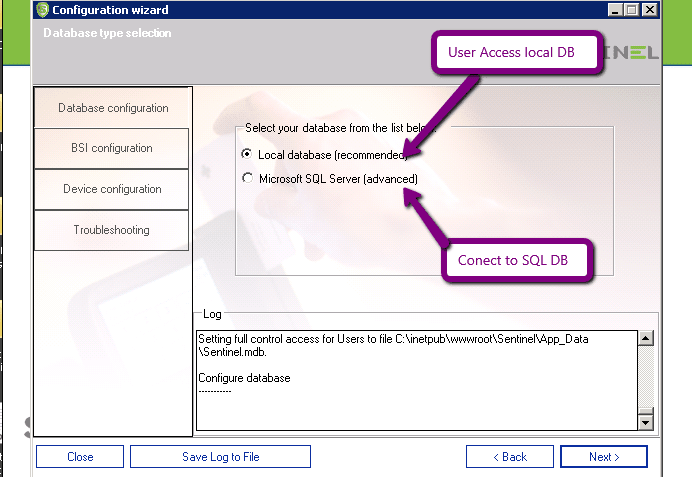
The application can be activated with local (Access) DB, or with SQL DB.
When using local (Access) DB, it is built during the installation.
When using SQL DB, an empty DB must be created before installation with SQL authentication, including SQL User with DBO Permissions.
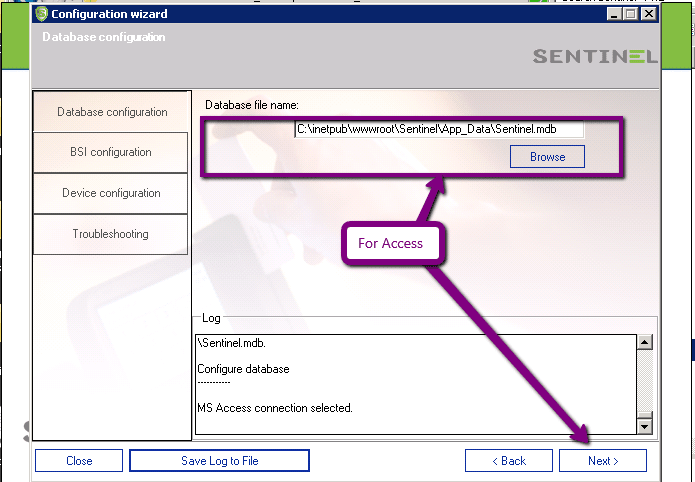
Step 9 - Access.
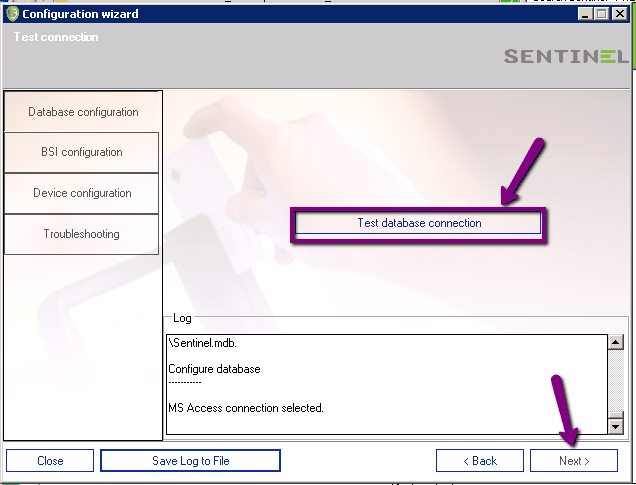
On selecting local (Access) DB, just confirm the default path, and press “Test Connection”:
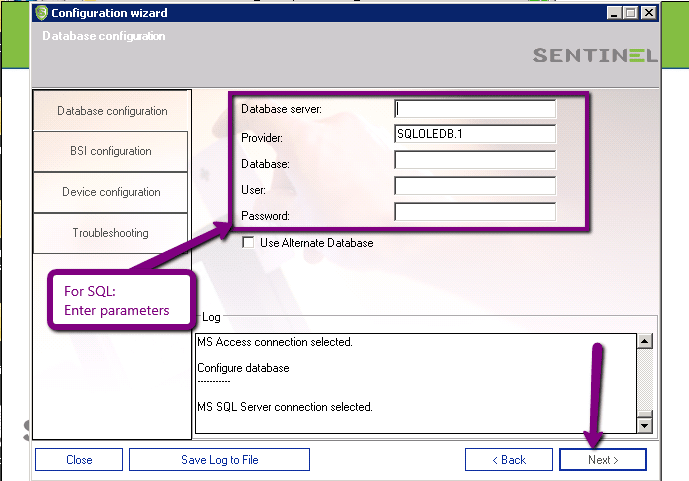
Step 9 - SQL.
On selecting SQL DB, you must enter the SQL DB parameters, and then press “Test Connection”.
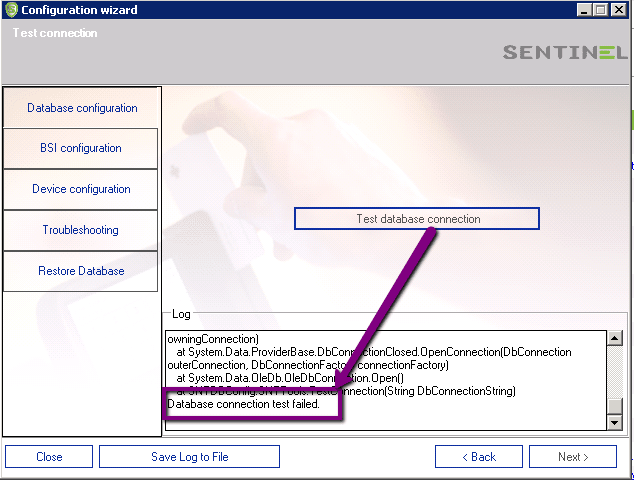
Step 10 - SQL.
If the Test Connection fails, there’s something incorrect in the SQL DB parameters.
You must fix them before continuing the installation.
Step 11.
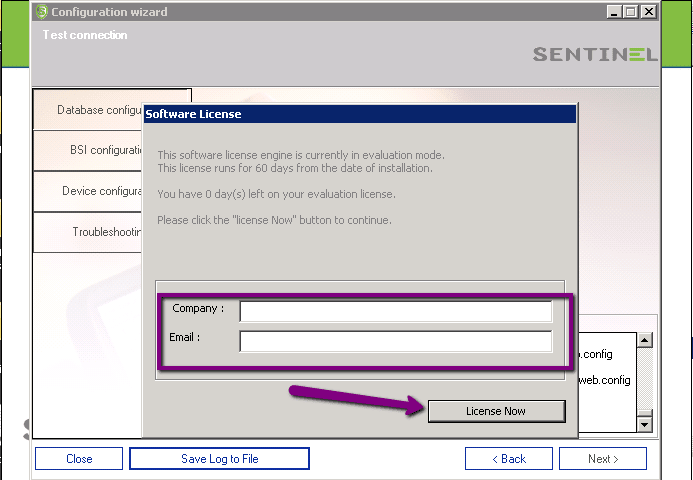
When all is correct a window is opened in order to enter details for License.
Enter your company name and you Email.
No mail will be sent from the system to that Email. It’s all for the license information.
Step 12.
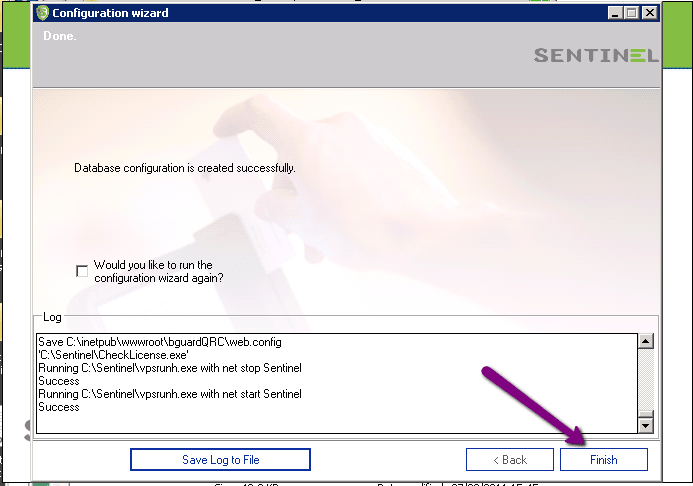
The Wizard part is finished. Just press “Finish”, and the installation will continue for few more steps.
Step 13.
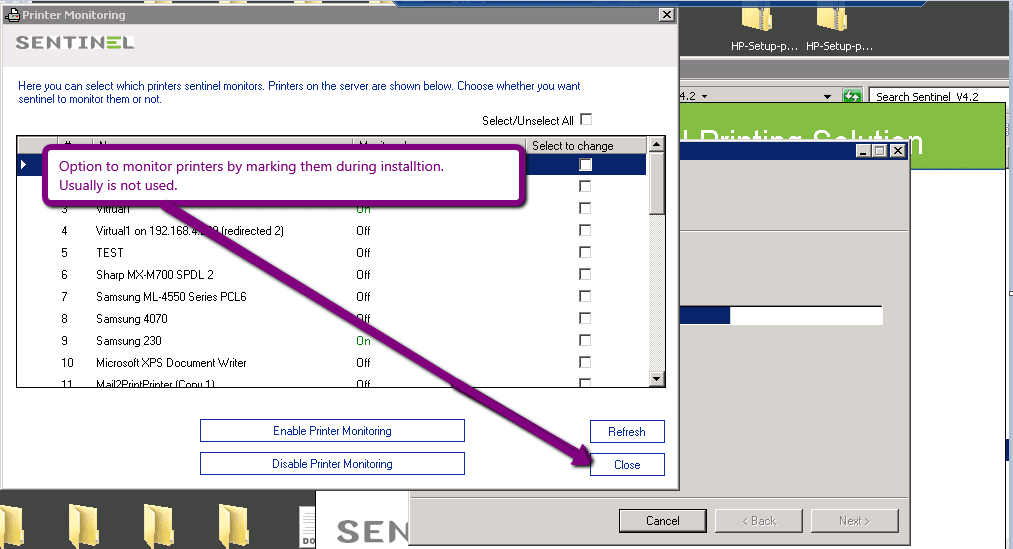
You will get a window including all printer already installed on the server.
There’s on option to monitor printer from installation, but in general the option is not needed/used, so you just press “Close”.
Step 14.
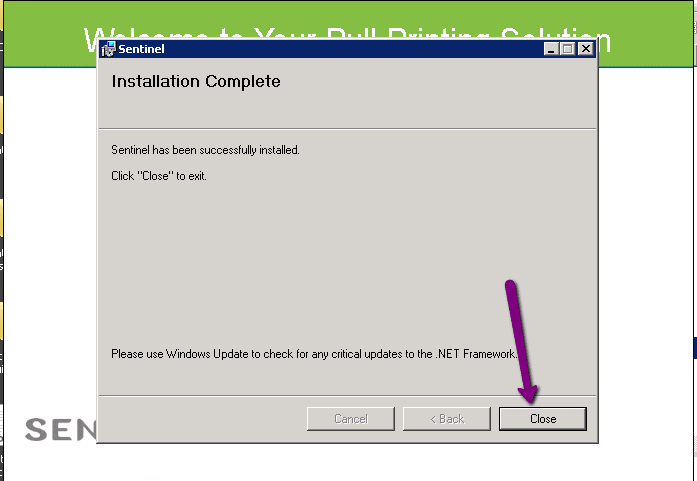
The installation goes on and ends with “Close” button, on which you should press.
Step 15.
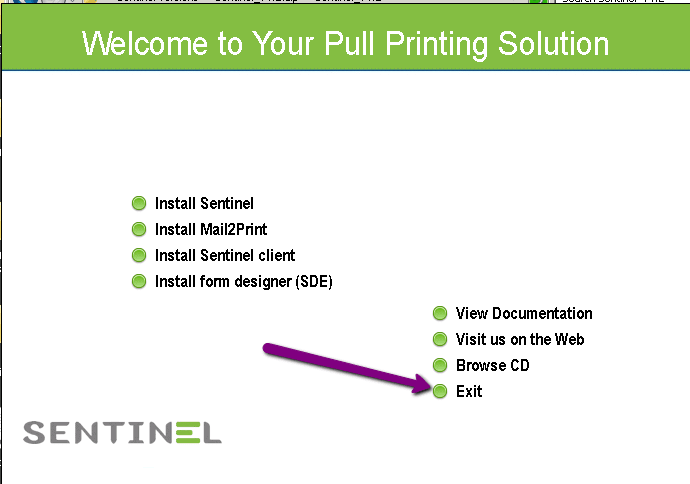
Eventually, just “Exit” from the installation:
Step 16.
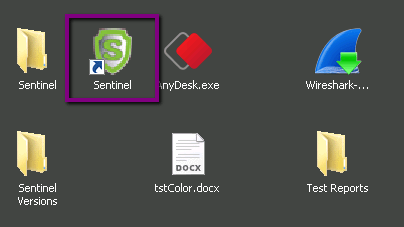
You should have Sentinel print management software icon on the server desktop:
Step 17.
Press on it in order to open the Sentinel application:
